


#Day9 of #90DaysofDevops challenge
Click here to view Day 9 Task
What is Git and why is it important?
Git is a distributed version control system designed to track changes to code or any other type of digital content. It was created by Linus Torvalds in 2005 and has since become one of the most widely used version control systems in the software development industry.
Git is important for several reasons. First, it allows developers to work collaboratively and efficiently on code, which is essential for large projects or teams. It also helps to track changes to code and provides a history of those changes, which can be useful for debugging or understanding how the code evolved over time. Additionally, Git makes it easy to roll back changes if a mistake is made, which can be invaluable in avoiding errors or bugs in the code.
What is the difference Between Main Branch and Master Branch?
The terms "main" and "master" are both commonly used to refer to the default branch in Git repositories, which is the branch that is checked out by default when a user clones a repository.
Historically, the default branch in Git repositories was named "master", and this is still the case for many repositories today. However, in recent years there has been a growing awareness that the term "master" has problematic associations with slavery and oppression, and some developers have chosen to use the term "main" instead to avoid these connotations.
In practical terms, there is no difference between the "main" and "master" branches in Git. They serve the same purpose and can be used interchangeably.
Can you explain the difference between Git and GitHub?

How do you create a new repository on GitHub?
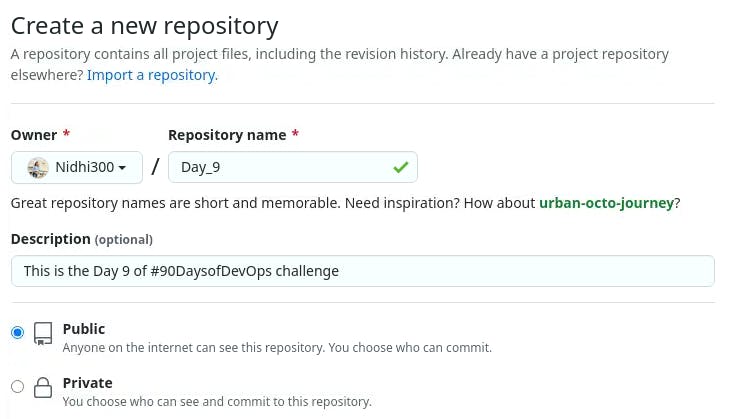
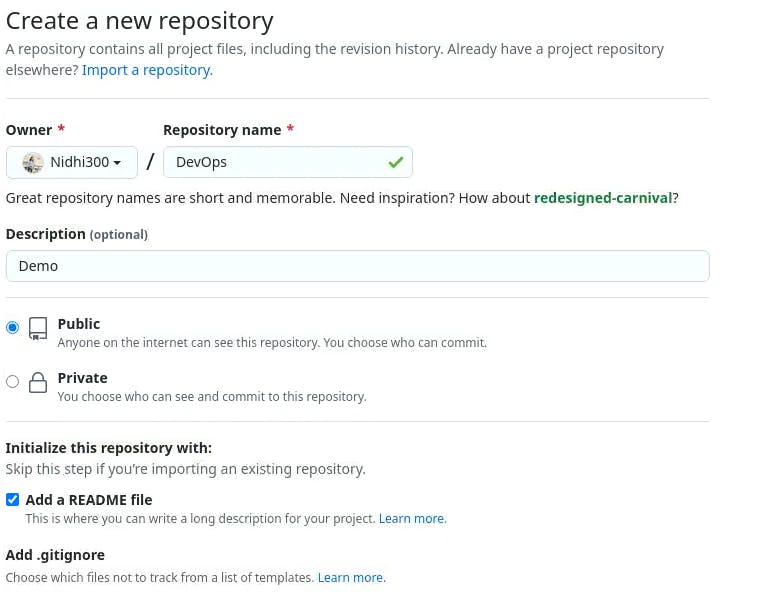
To create a new repository on GitHub, follow these steps:
Go to the GitHub website and log in to your account.
Click the “+” icon in the top right corner of the screen and select “New repository”.

Enter a name for your repository in the “Repository name” field.
Optionally, you can add a description of your repository in the “Description” field.
Select whether you want your repository to be public or private. Public repositories are visible to anyone and can be cloned or forked by anyone, while private repositories are only accessible to you and other people you specifically invite.
Choose a license for your repository.
Click the “Create repository” button.

GitHub link
What is the difference between local & remote repositories? How to connect local to remote?
A local Git repository is a copy of a project's source code that is stored on your local machine, while a remote Git repository is a copy of the same project's source code that is stored on a remote server, typically on a Git hosting service such as GitHub or GitLab.
The main difference between a local and remote repository is that the local repository is located on your local machine and is accessible only to you, while the remote repository is located on a remote server and can be accessed by multiple users.
To connect a local repository to a remote repository, you need to use the “git remote” command. Here are the basic steps to connect a local repository to a remote repository:
Initialize a Git repository in your local directory by running the “git init” command.
Go to GitHub and create a new remote repository for your project.
Copy the URL of the remote repository to your clipboard.
In your local repository, run the following command to add the remote repository:
git remote add origin <remote repository URL>
Replace “<remote repository URL>” with the URL of the remote repository.
To push your local repository to the remote repository, run the following command:
git push -u origin master
This command pushes the “master” branch of your local repository to the “origin” remote repository and sets the “origin” remote as the default remote for future pushes.
Tasks:
Set your username and email address, which will be associated with your commits.
To set your username and email address in Git, you can use the following commands:
Open your terminal or command prompt.
Type the following command to set your username:
git config --global user.name "Your Name"
Type the following command to set your email address:
These commands will set your username and email address globally, so they will be associated with all the commits you make on your local machine.

Create a repository named “DevOps” on GitHub
Connect your local repository to the repository on GitHub.
Use the command 'git clone <repository_url>'

Create a new file in Devops/Day-02.txt & add some content to it.

Push your local commits to the repository on GitHub


Thank you for reading! 🍁
Nidhi